
Categories
Creating a category provides the option to group items from a specific content category, such as News, Rewards, or Coupons. This allows you to link and associate items exclusively within the selected group.
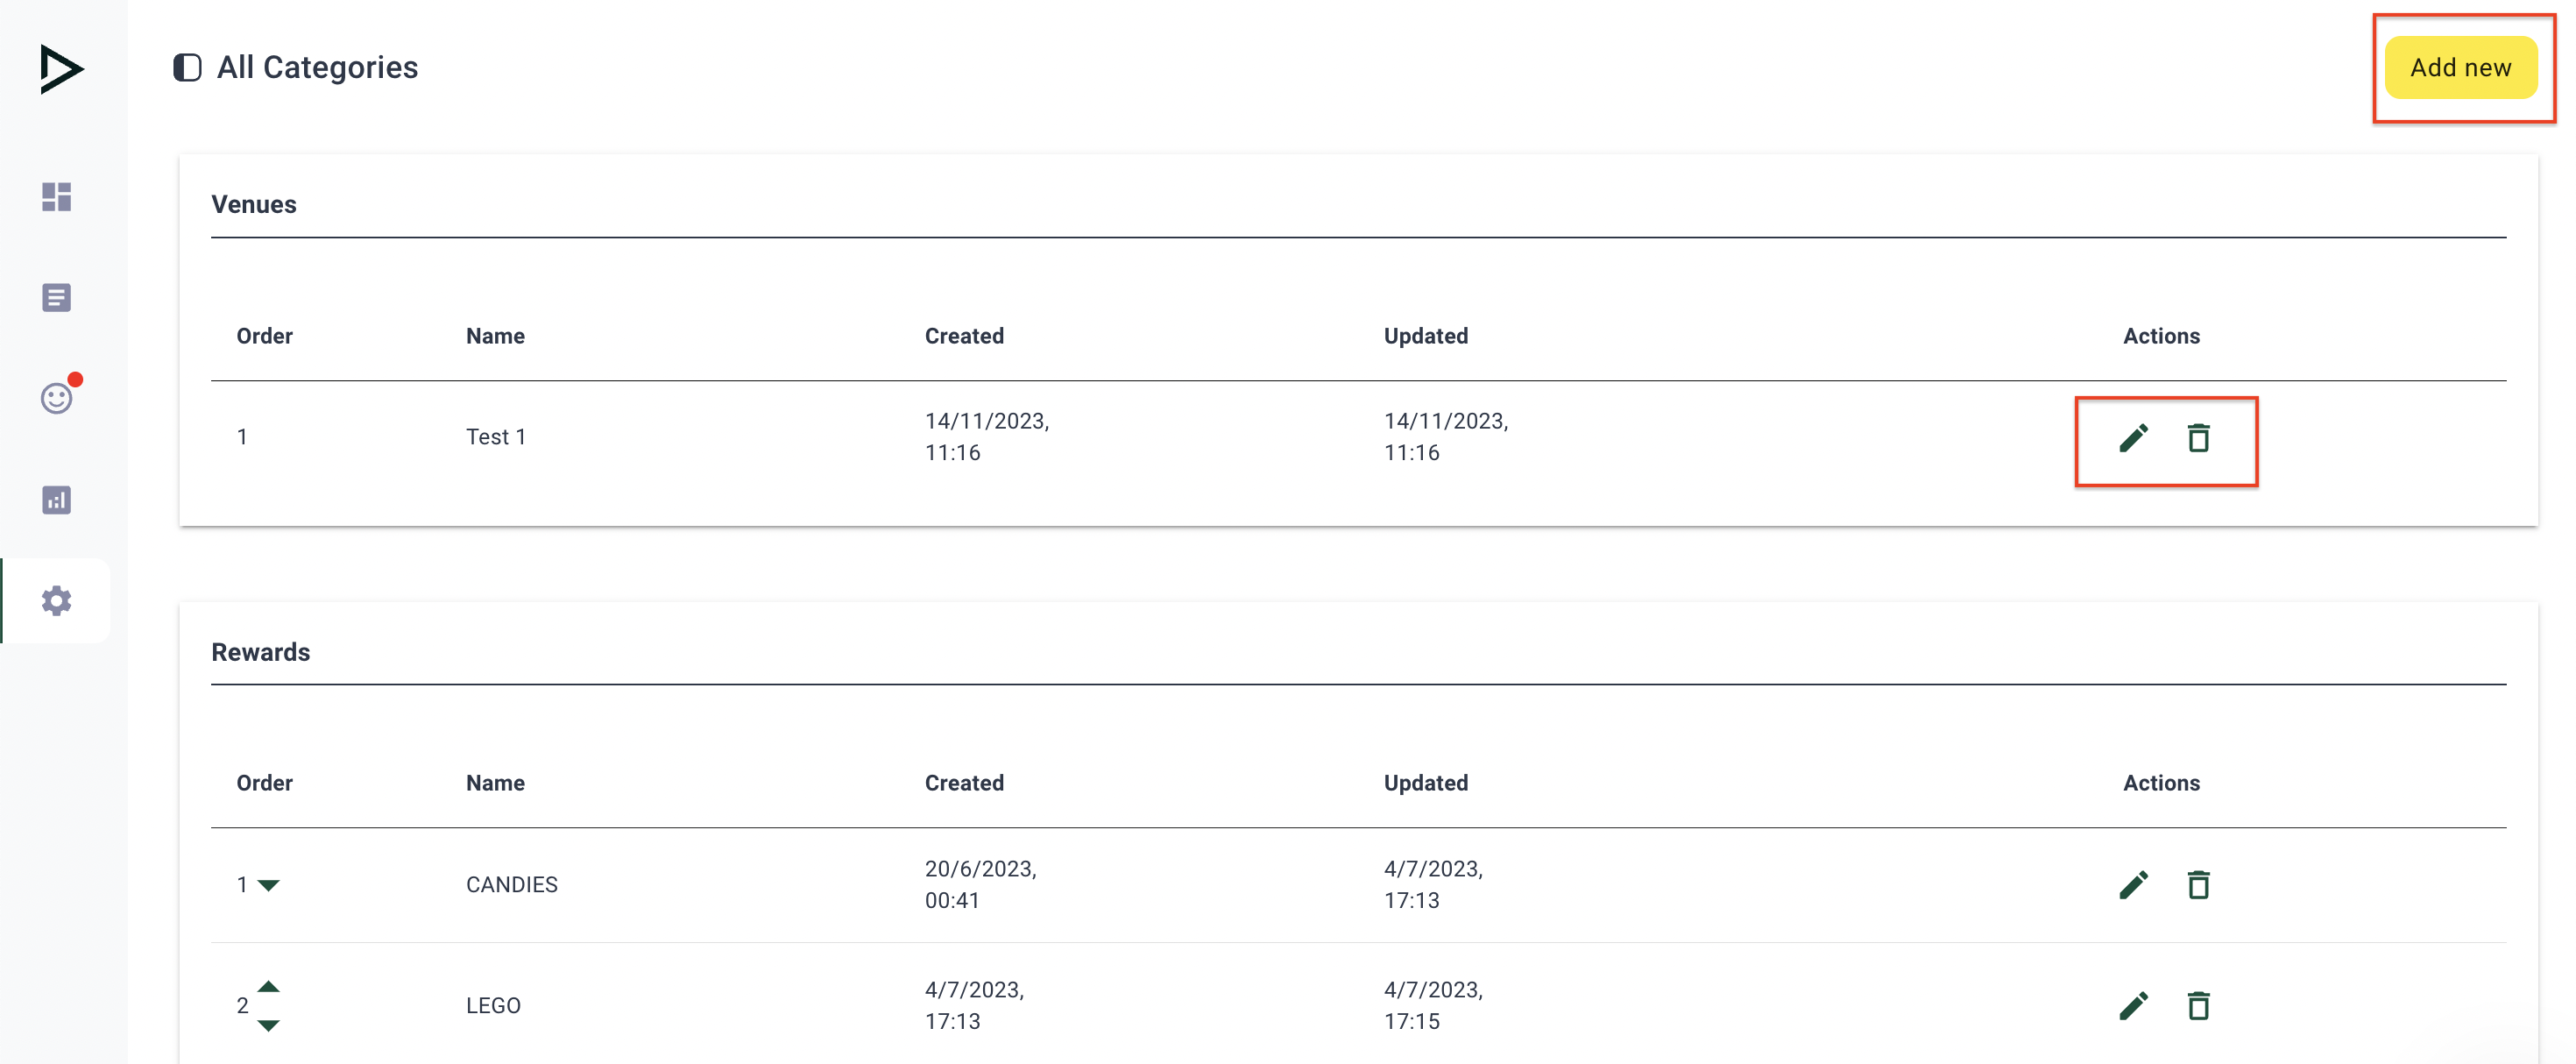
Creating a new category
To create a new category, click the "Add new" button in the top right corner. If you have already created some categories and wish to edit them, click the pencil icon, or delete them by clicking the trash icon. Categories are grouped according to their type, such as Venues, Rewards, or Coupons.
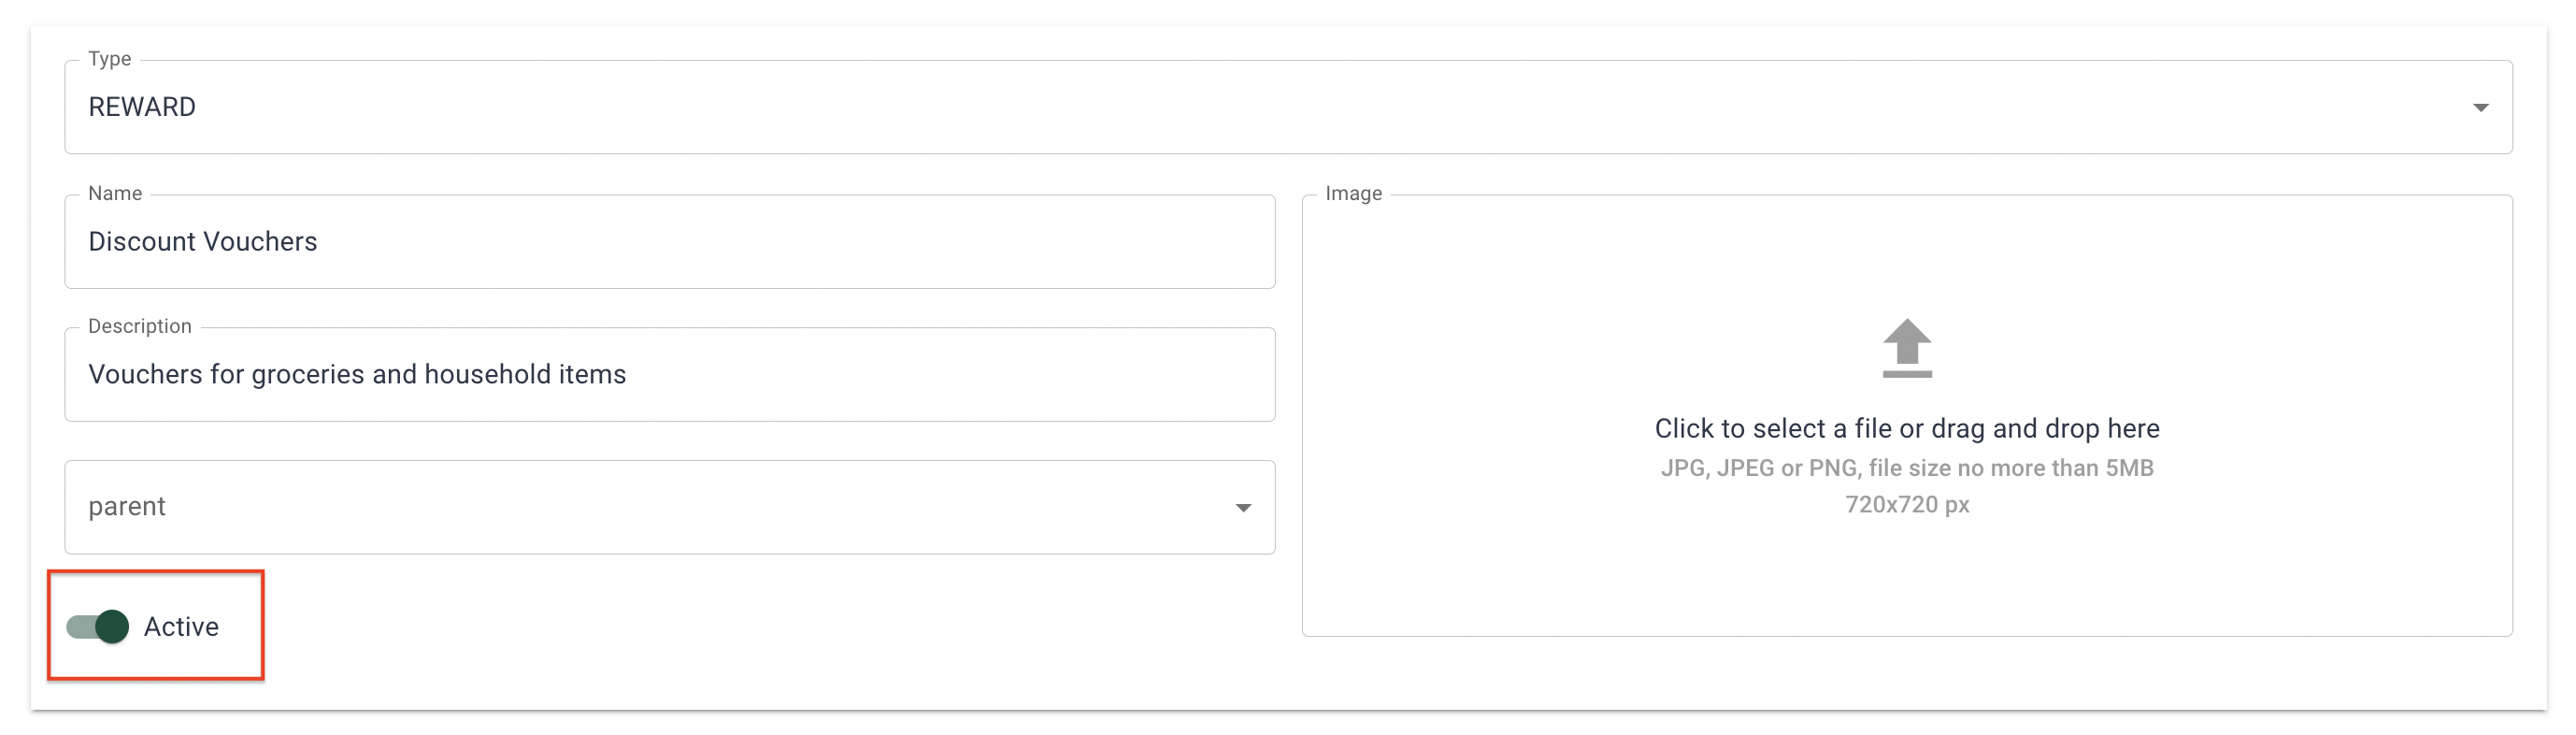
The initial step in creating a new category involves selecting the category type, which dictates the source of the subset of data displayed in the loyalty program. You can choose any name for the category, as it will be public and visible in the loyalty program. The description is internal and intended for your reference only.
The use of an image is optional, as they will not be visible in the loyalty program (the functionality will be available in later stages for e-shop/product catalogue).
If you are creating your very first category, it will automatically become a parent category. However, if you have already created some categories within the specific type, you will have the option to nest them under a parent category by selecting one from the drop down.
When the "Active" toggle is off, content items within the category will not be displayed in the loyalty program, even when the list is set to display all categories. Therefore, be sure to toggle it on.
Updated 25 days ago