
Locations
Feature Overview
- Management of all venues participating in the loyalty system and visible in the app
- Detailed information about the venue's location, contact info, and services provided
- Includes a link to your device's preferred map application
Introduction
A separate module lists all the venues where the customers can enjoy privileges as members of the loyalty system. Not only they find all the relevant info in one place, each venue is also linked to your device's native navigation app so the customer can easily find you.
Creating Venues
- Select Settings ->Locations
- Click the Add new
- You will see an empty news editor. To create your first Venue, fill in the fields as described below:
Venue title
The name of the venue displayed to the user in the app.

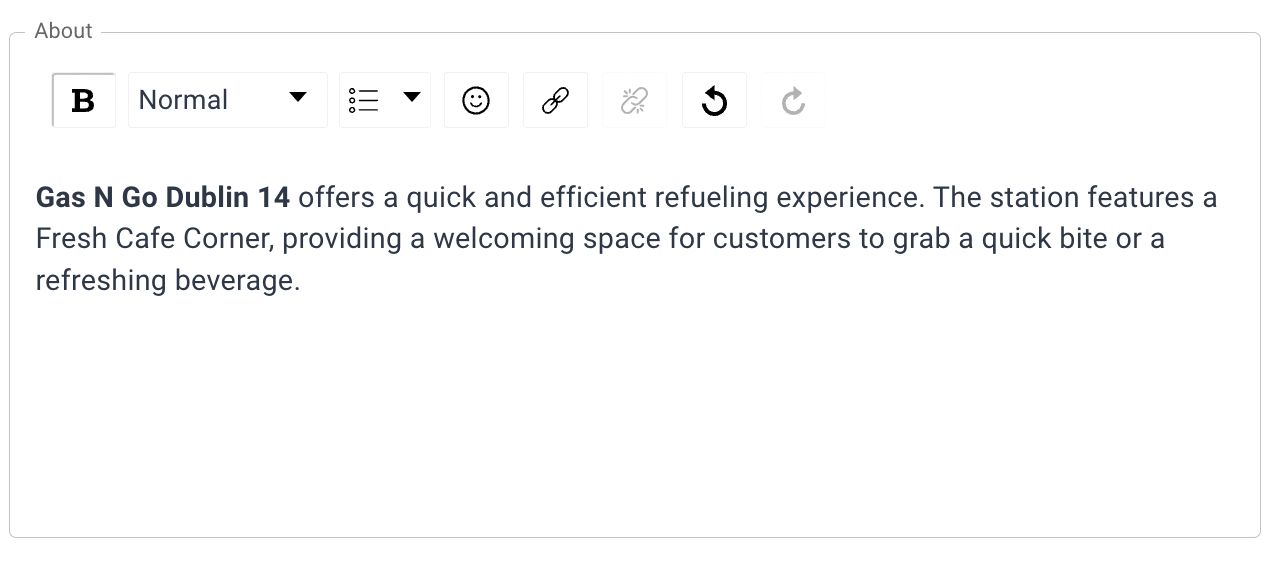
About
A short (optional) description of the venue.
Categories
You may wish to categorize venues into more specific categories. If there are categories that have already been created, you will find them listed within this field. If you need to create a new one, please follow our Categories guide.
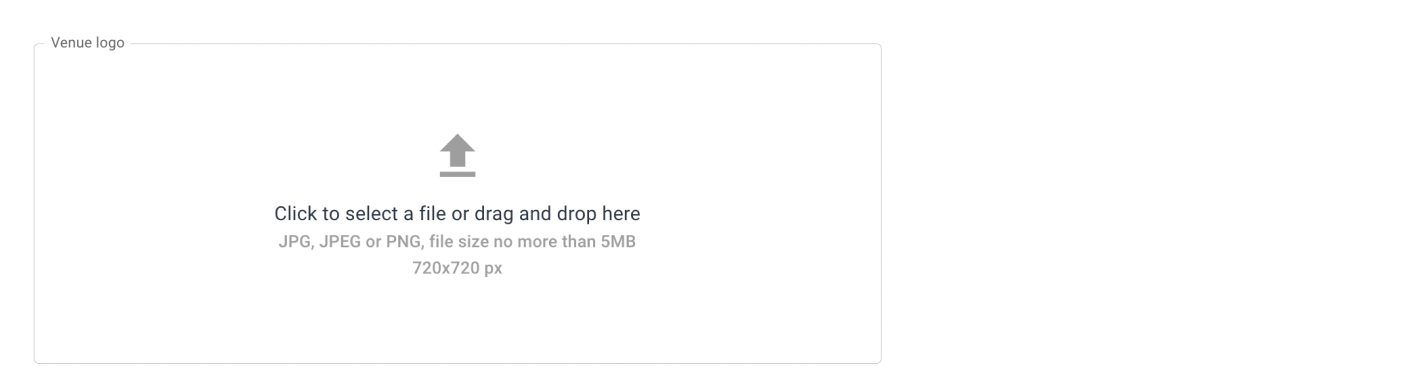
Venue logo & Venue detail image
Visuals representing the venue.
Location
This part features all the necessary contact information including Street, City, Zip Code, Country, Latitude, and Longitude of the location, etc.

eKasa ID
If your project has the receipt scanning feature enabled, you will also notice the eKasa ID field. Insert the eKasa ID code into the field to pair this specific venue with all receipts scanned in this particular place. You may add a new ID by clicking the "Add new" button.

Opening hours
Ensure your customers are informed about your venue's operating hours by inputting the schedule for each day of the week, including breaks. You have the flexibility to update this information either day by day, or streamline the process by utilizing the "Edit all days" button for quick and convenient adjustments.
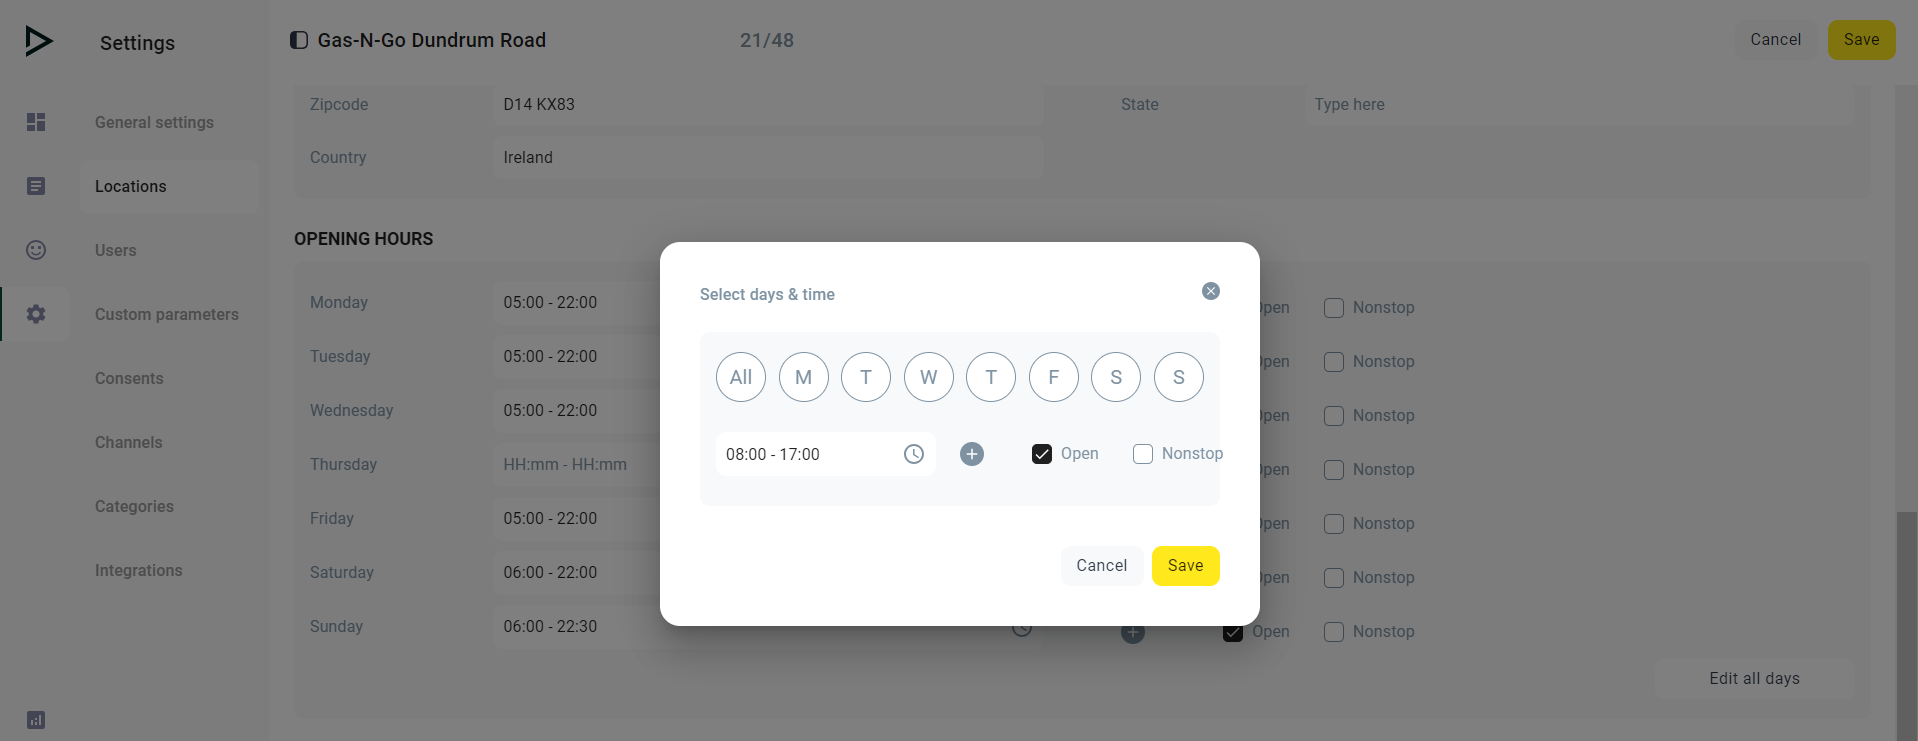
By toggling the button on/off, you can indicate whether the venue is open/closed or if it is operating nonstop.
You can add breaks by clicking the + icon to the right of the field.
Saving Venues
To save the venue you've just created, click the Save button. Alternatively, you can cancel it altogether.
OR code
Once saved, a venue-specific QR code will appear. You may copy or download it by clicking the icons on the right.

Publishing Venue
As soon as everything is set up, prepared, and saved, you can publish or unpublish locations. Navigate to the list of all locations, select the one you want, and click the Publish button in the top right corner.
Updated 3 days ago