
Creating Deal
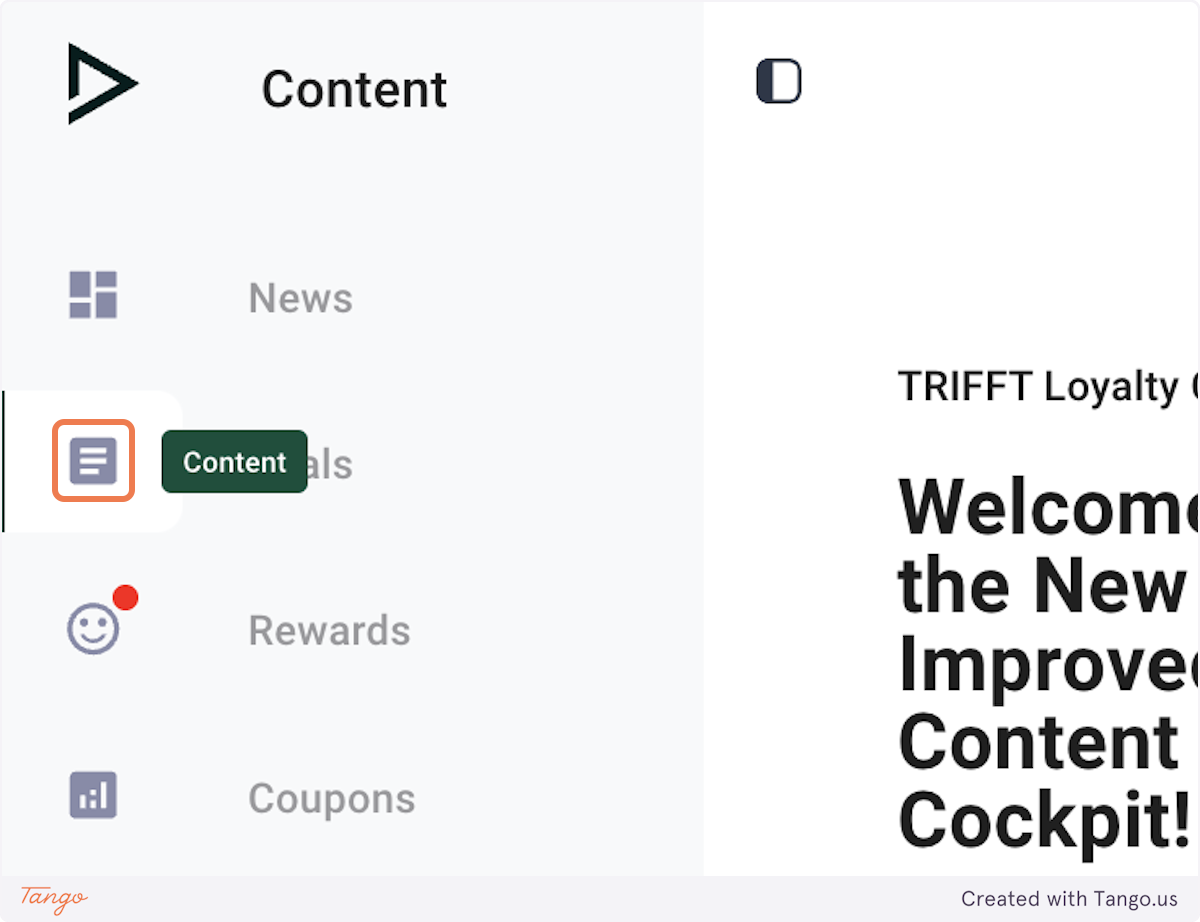
1. Click on Content
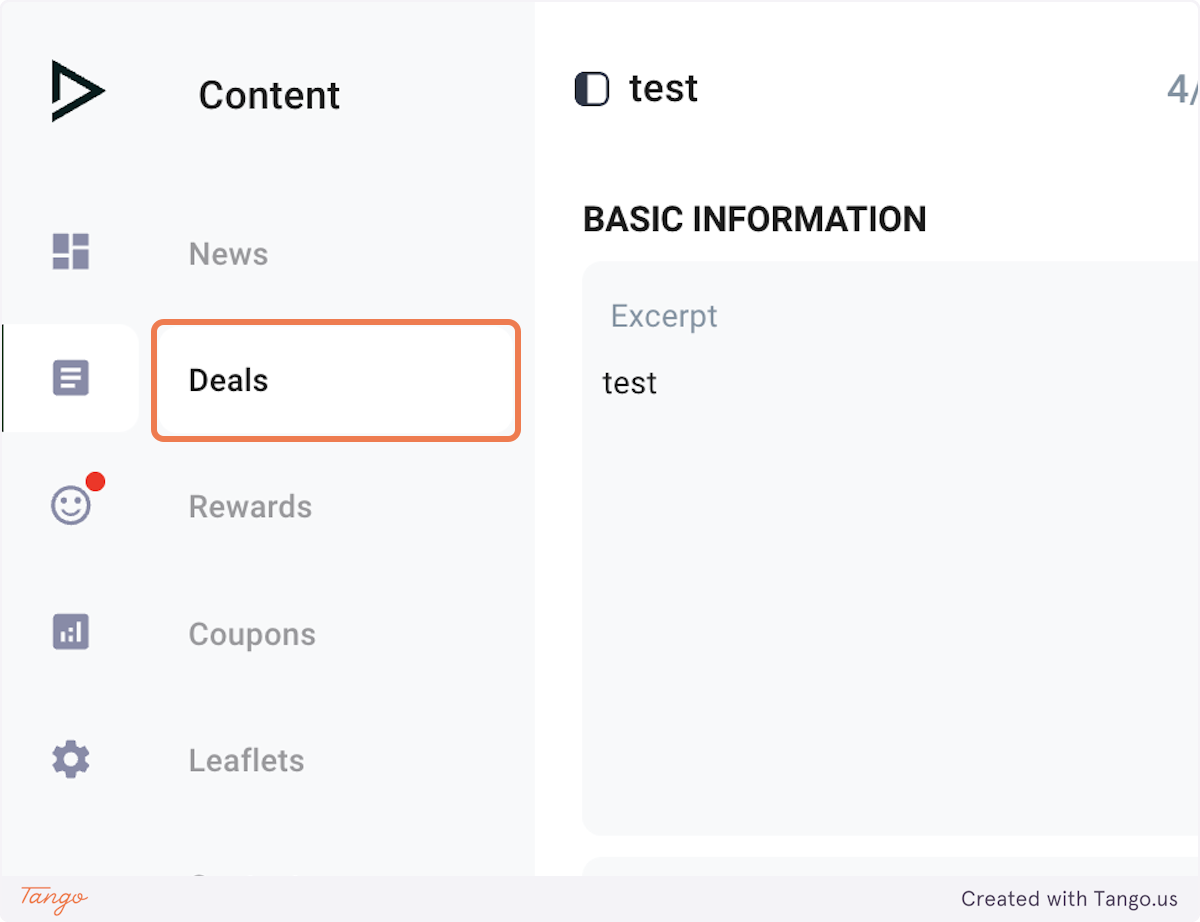
2. Click on Deals
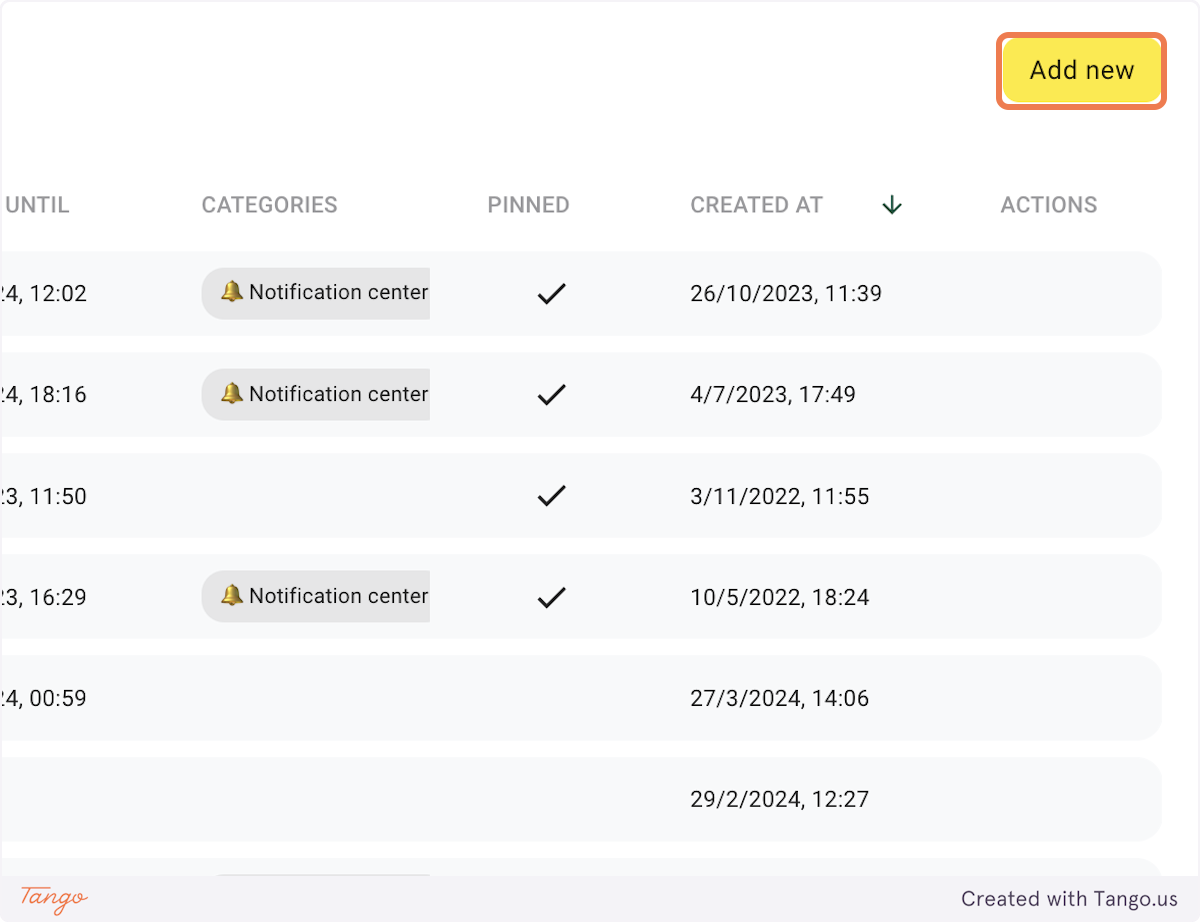
3. Click on Add new
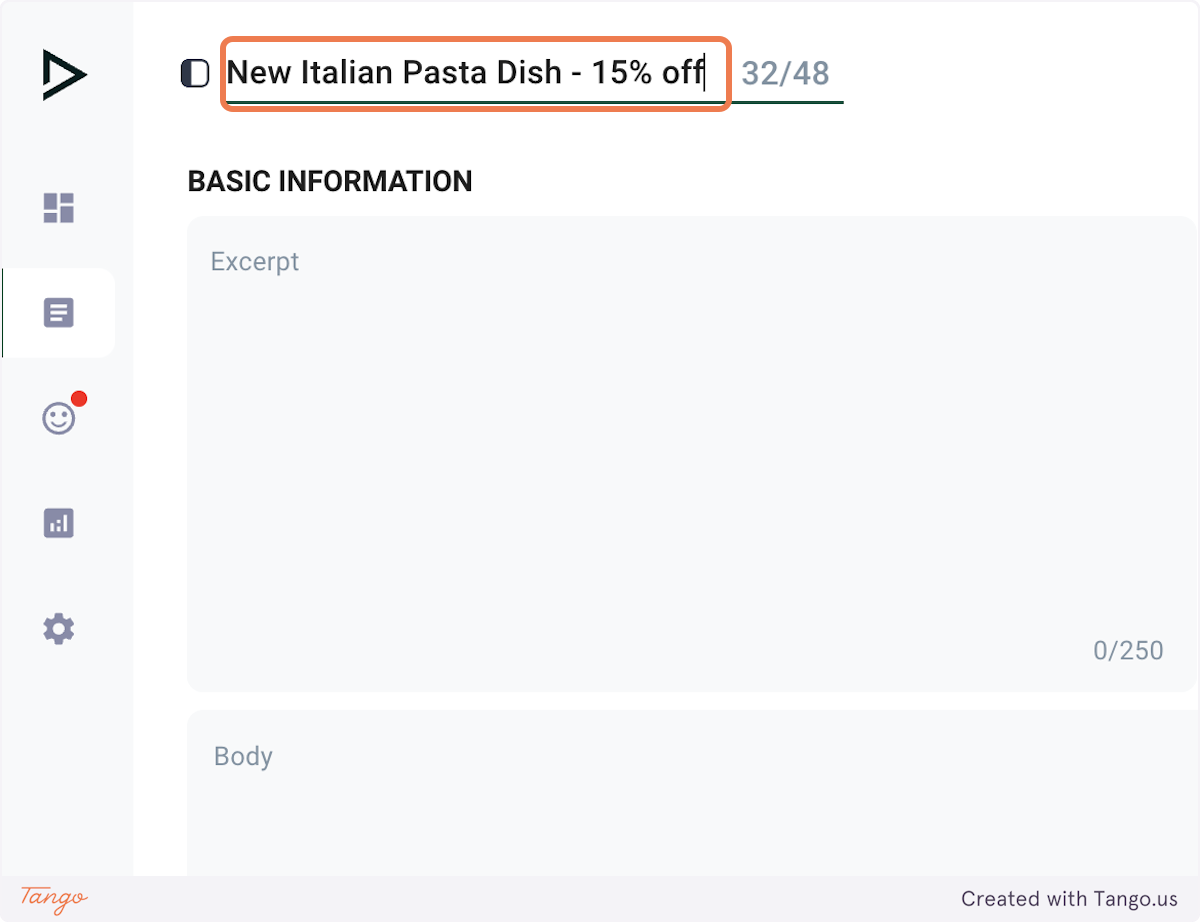
4. Craft a title for your Deal.
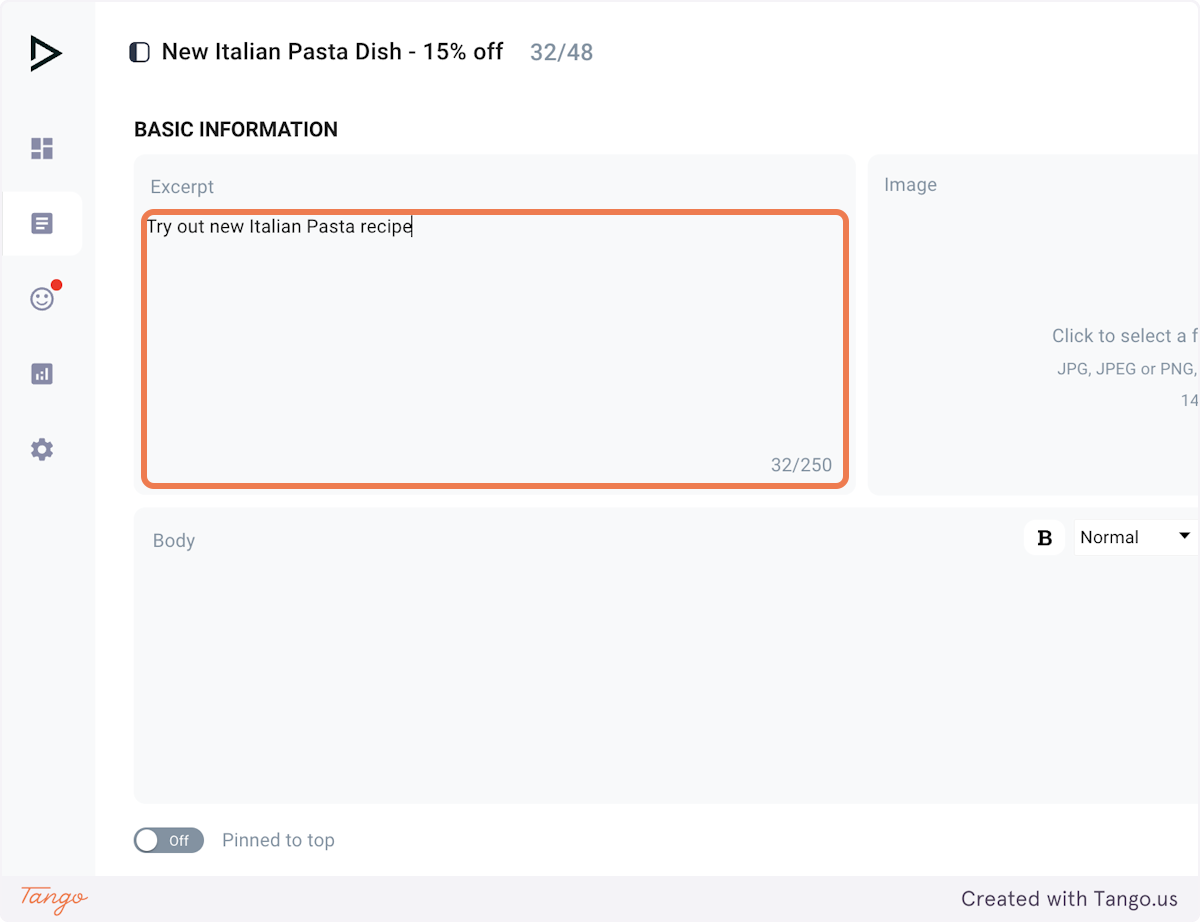
5. Complete the excerpt
This text serves as the preview for the Deal before members click to open it.
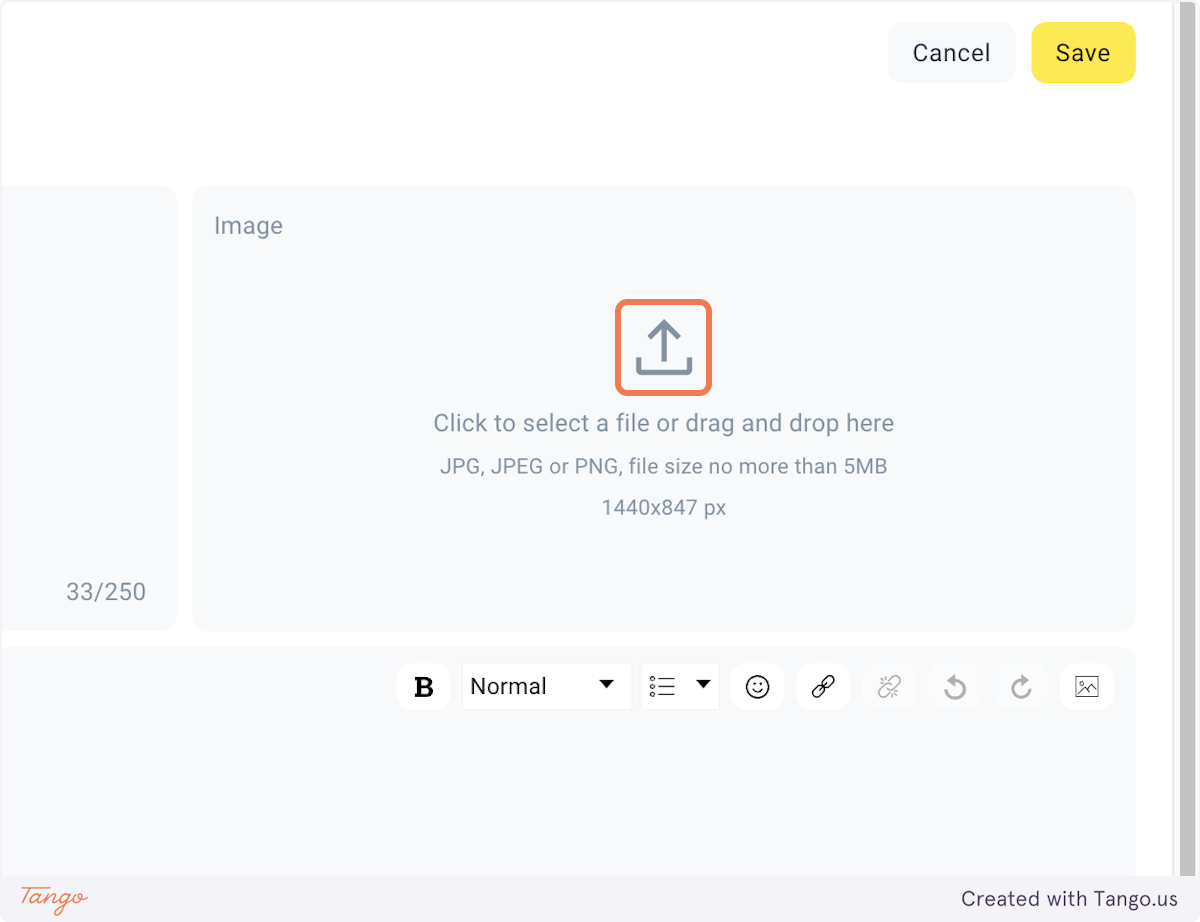
6. Upload the image
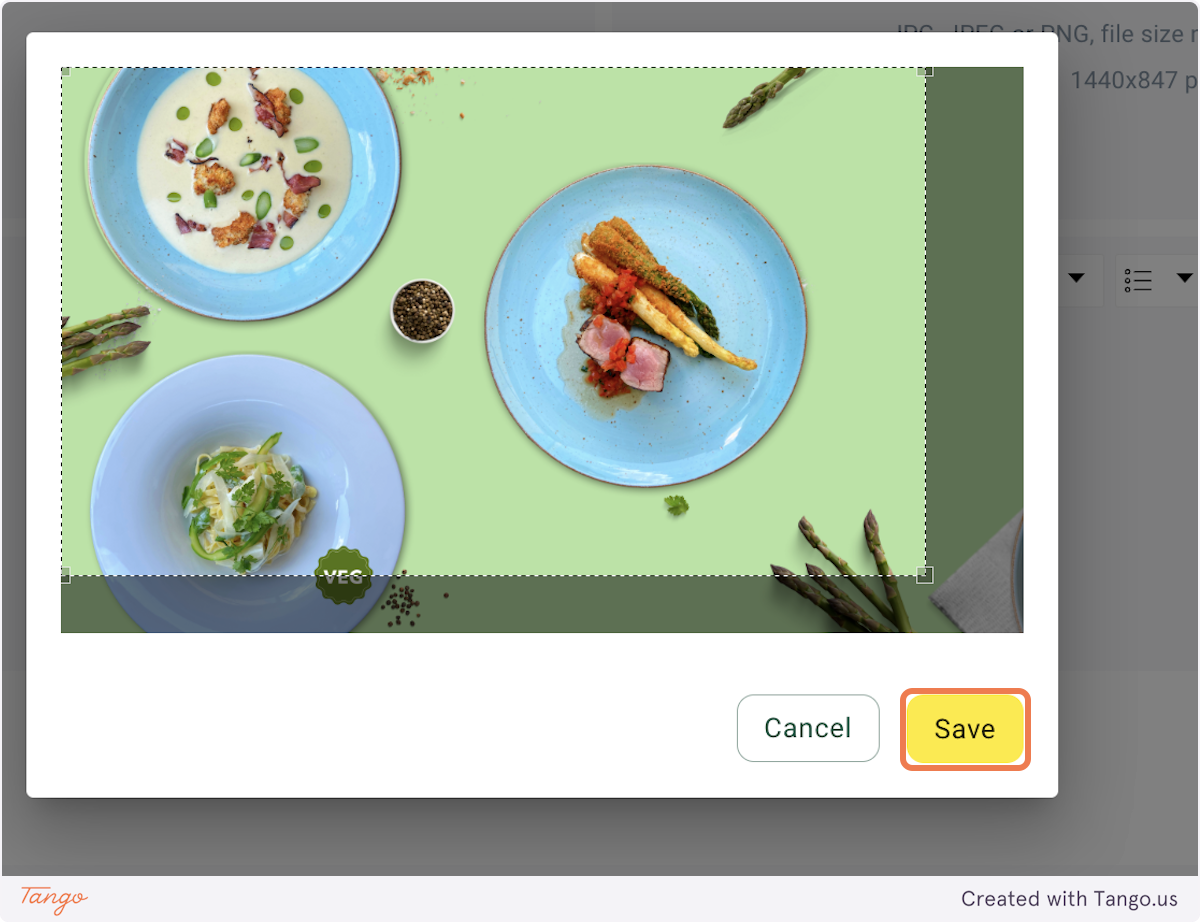
7. Resize and save the image
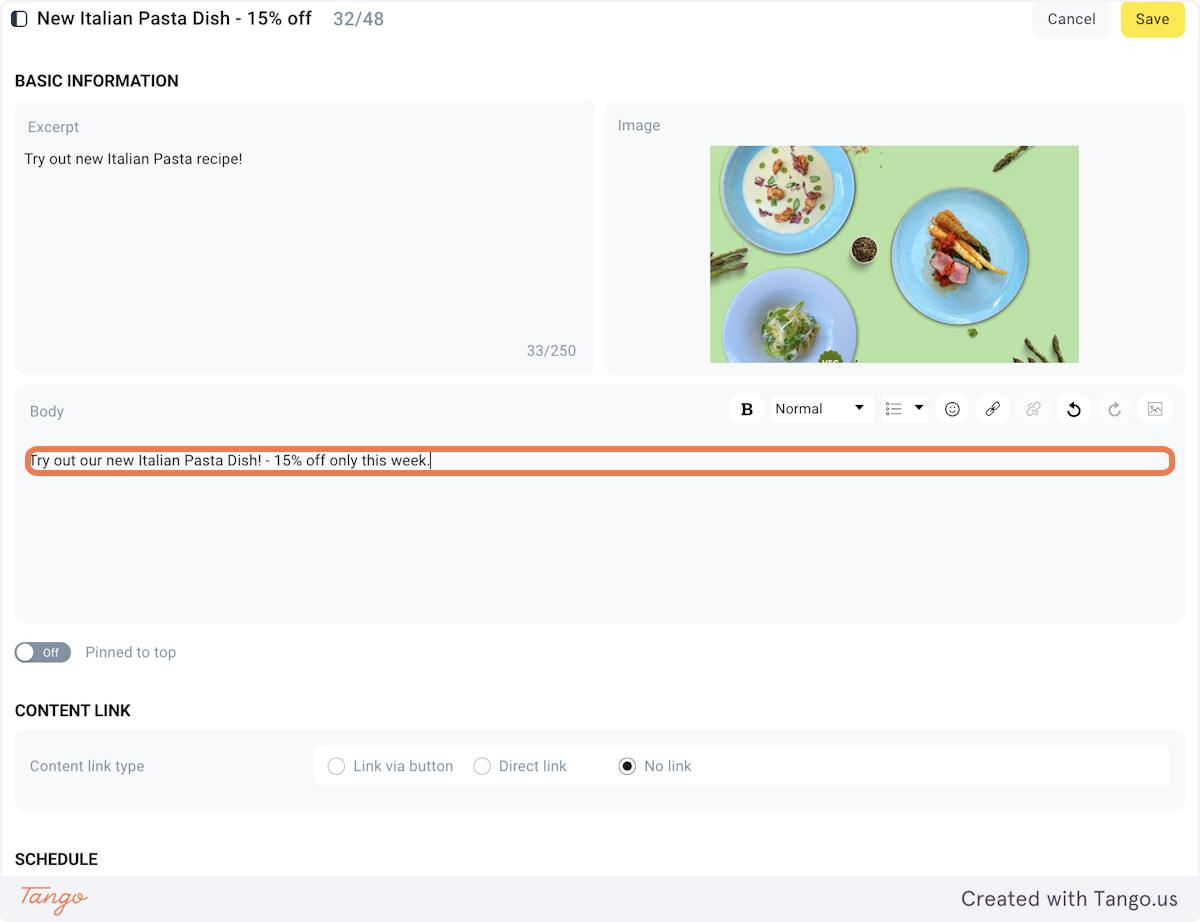
8. Complete the body text
This text is featured in the main body of the Deal once members open it.
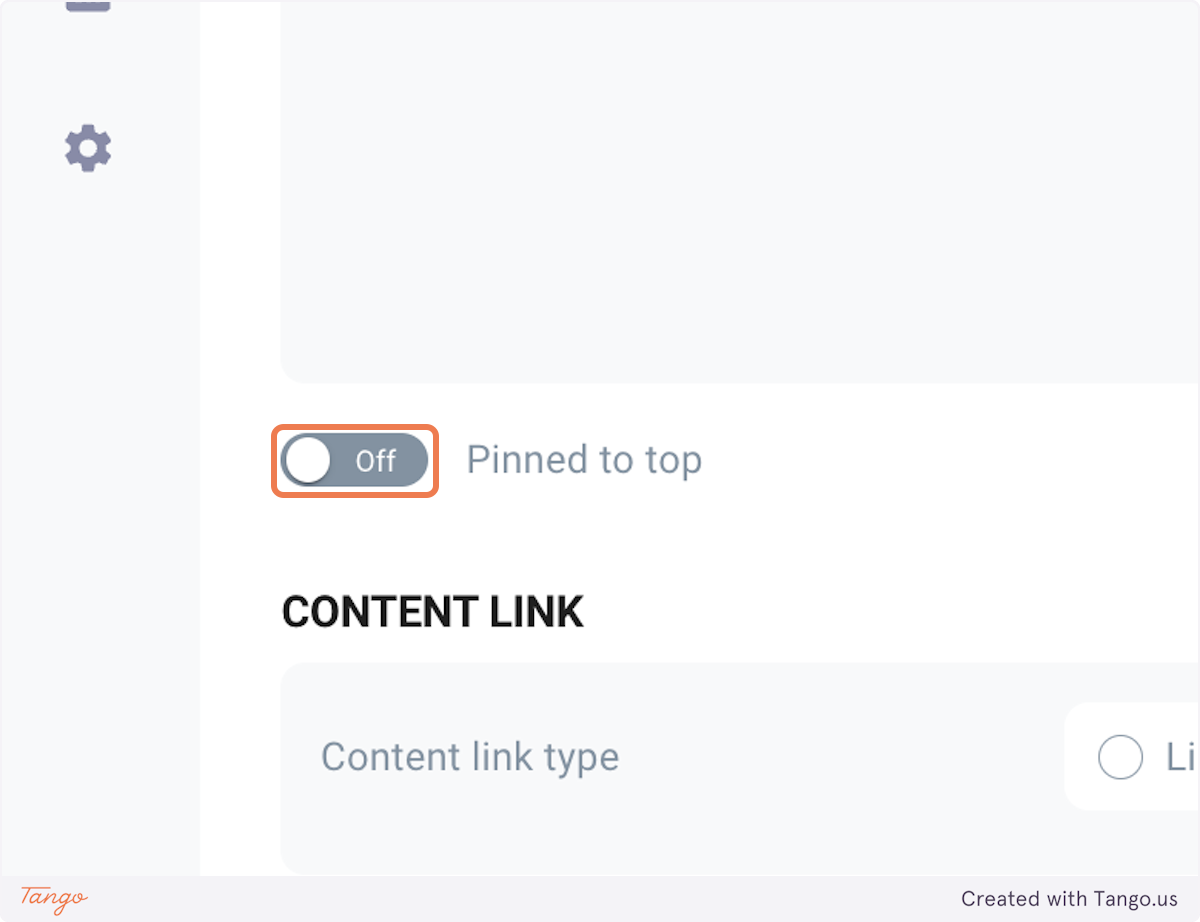
9. (Optional) - Pin to top
Turn this toggle "On" if you want to display this Deal at the top, ahead of other Deals.
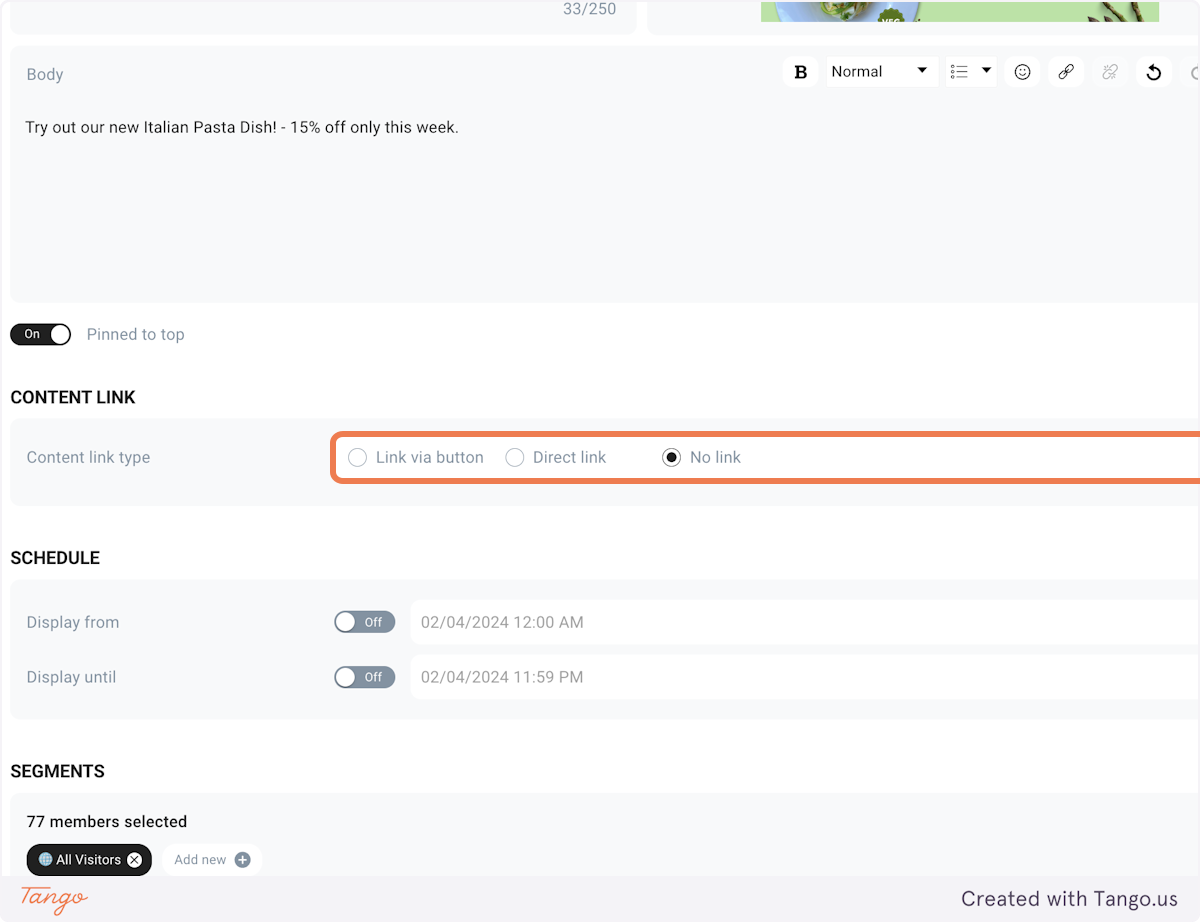
10. Select the "No link" content link type
Select "No link" content link type if you don't want any links in your Deal.
See Content link type section to learn more about other types.
11. Enable "Display from"
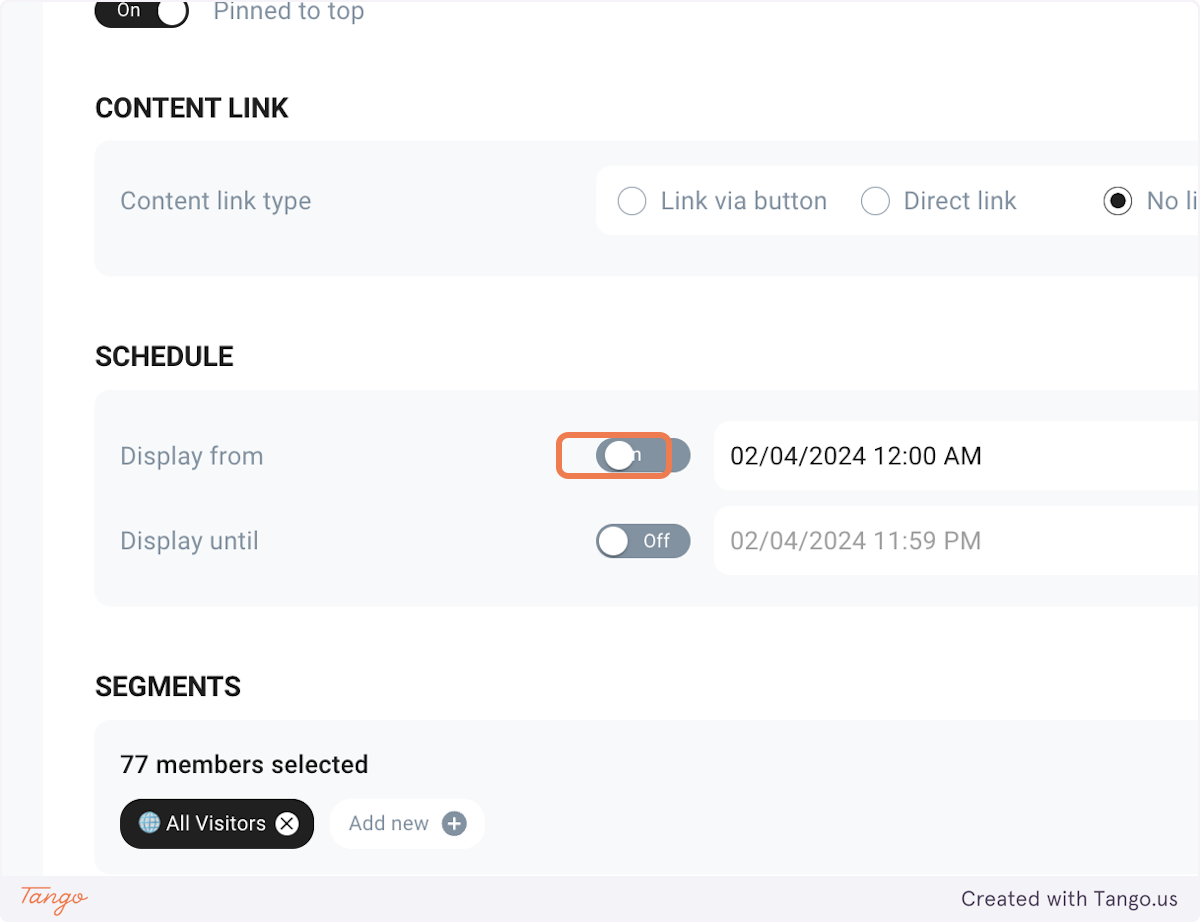 ### 12. Check "Display from"

13. Check "Valid from"
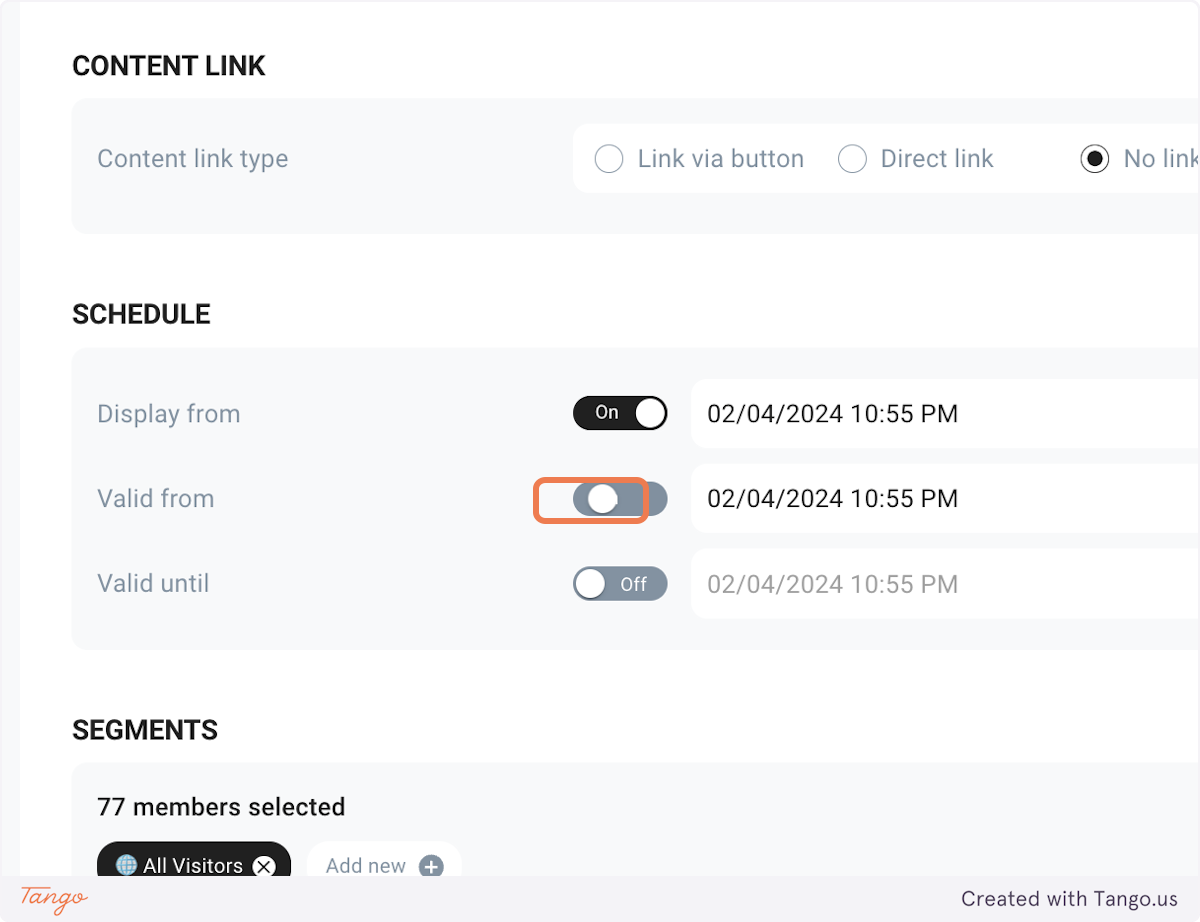
14. Check "Valid until"
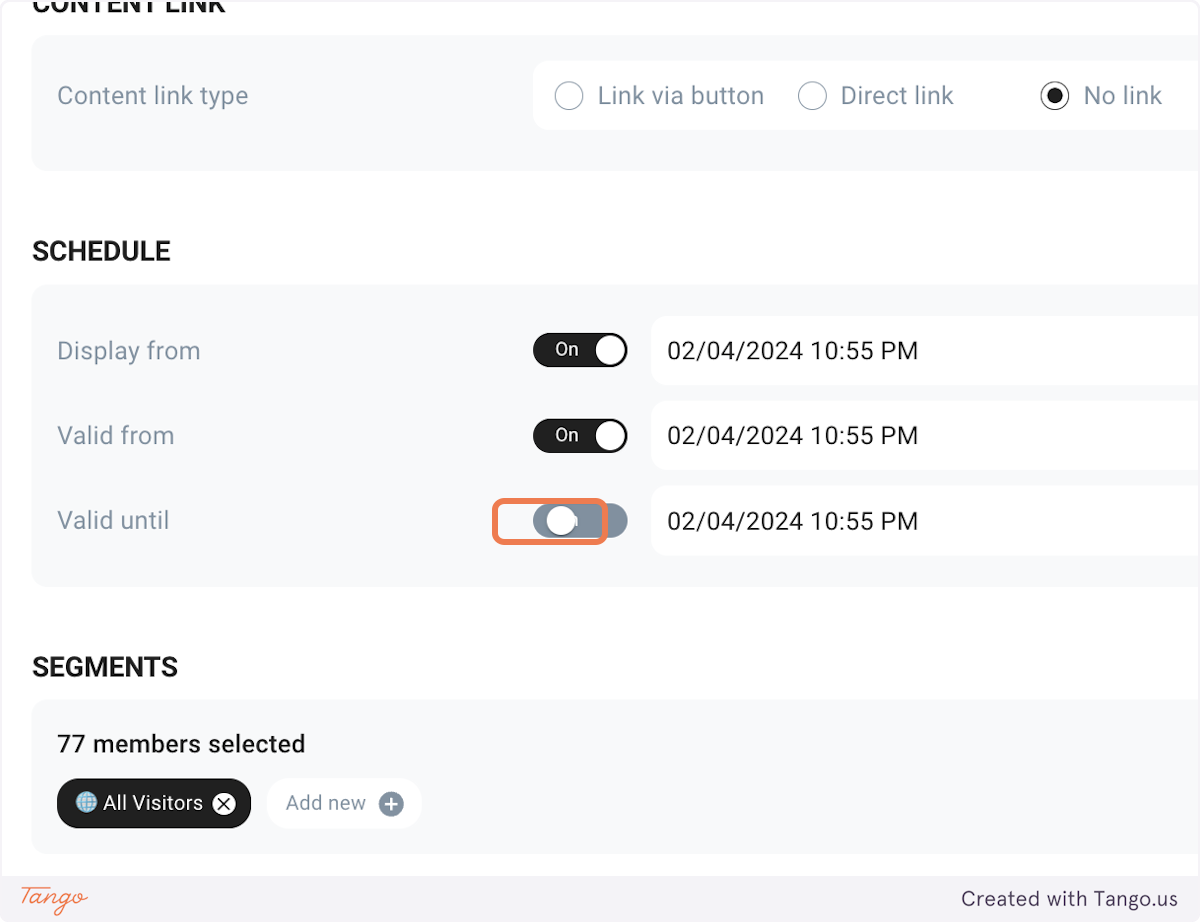
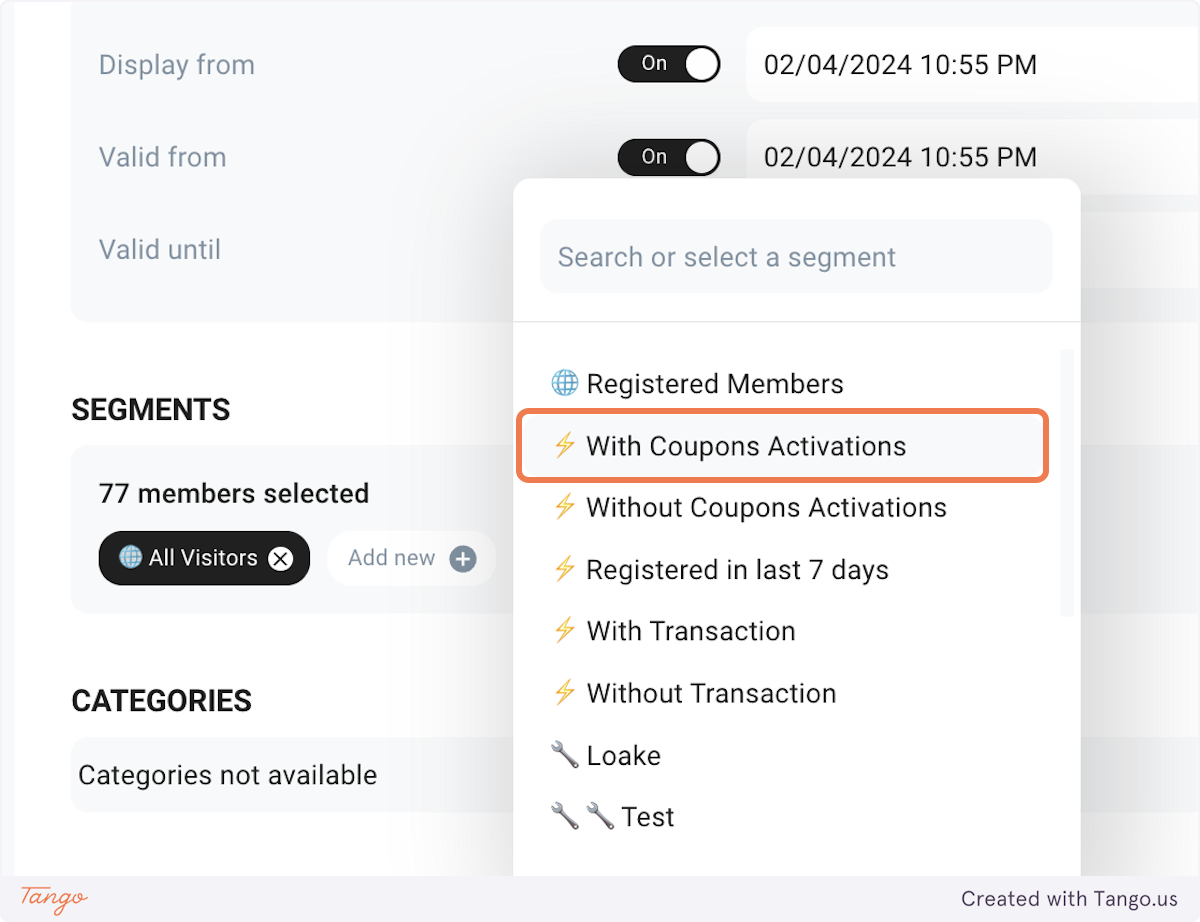
15. Add segments to show this Deals to
You can either leave the default "All Visitors" segment to display this Deal to everyone, or choose specific segments to target particular Members. Learn more about segments here.
16. (Optional) Categorize your News Article
To categorize Deals, select one from the displayed list or create a new category. Learn more about Categories in the Categories section.
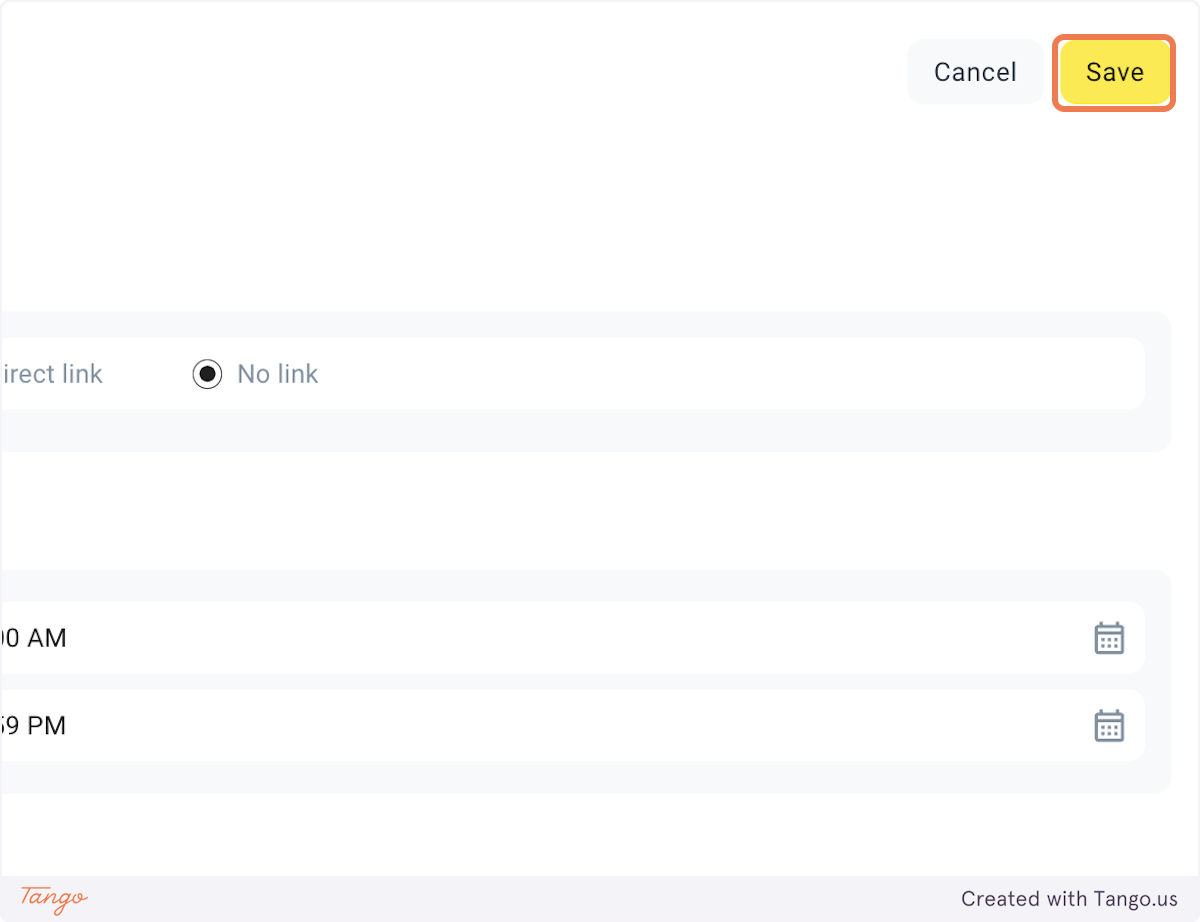
17. Save the Deal
18. Publish your Deal
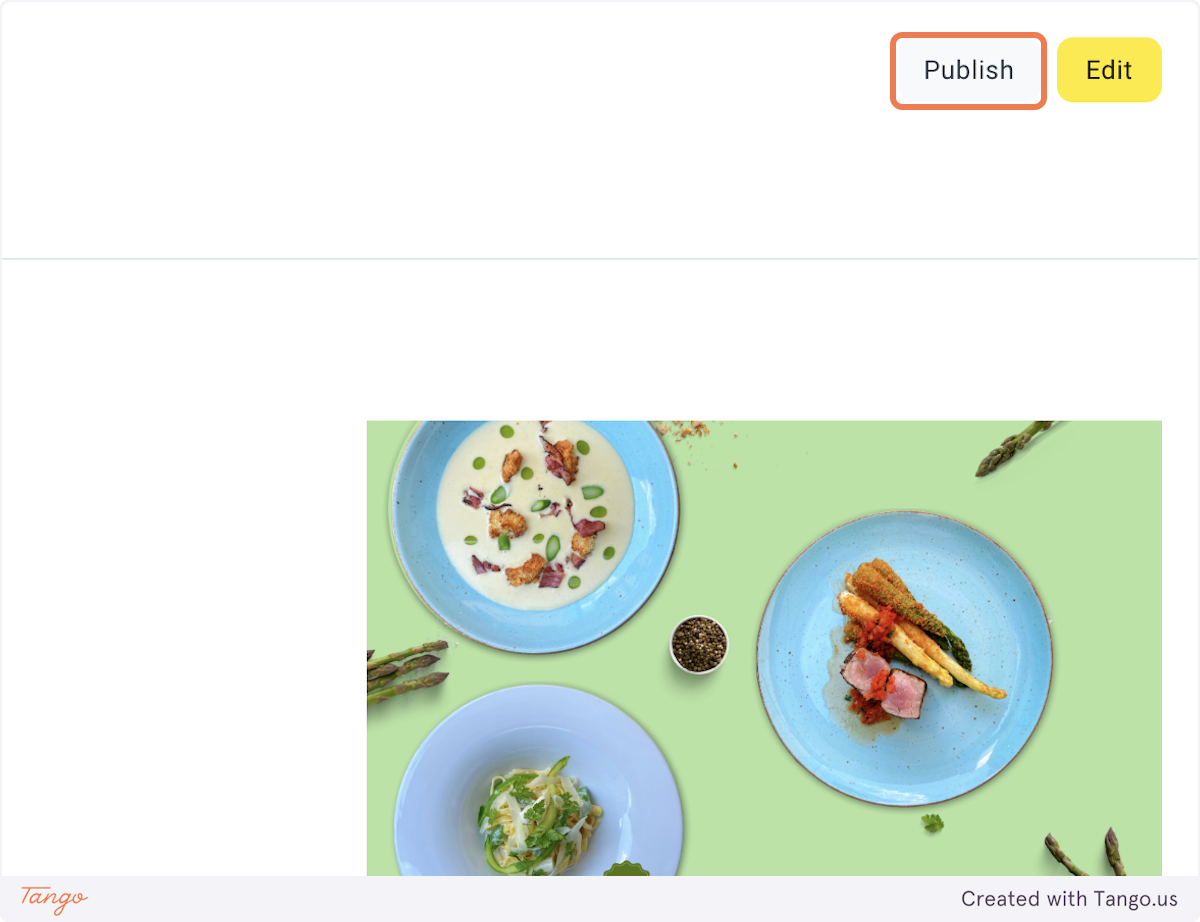
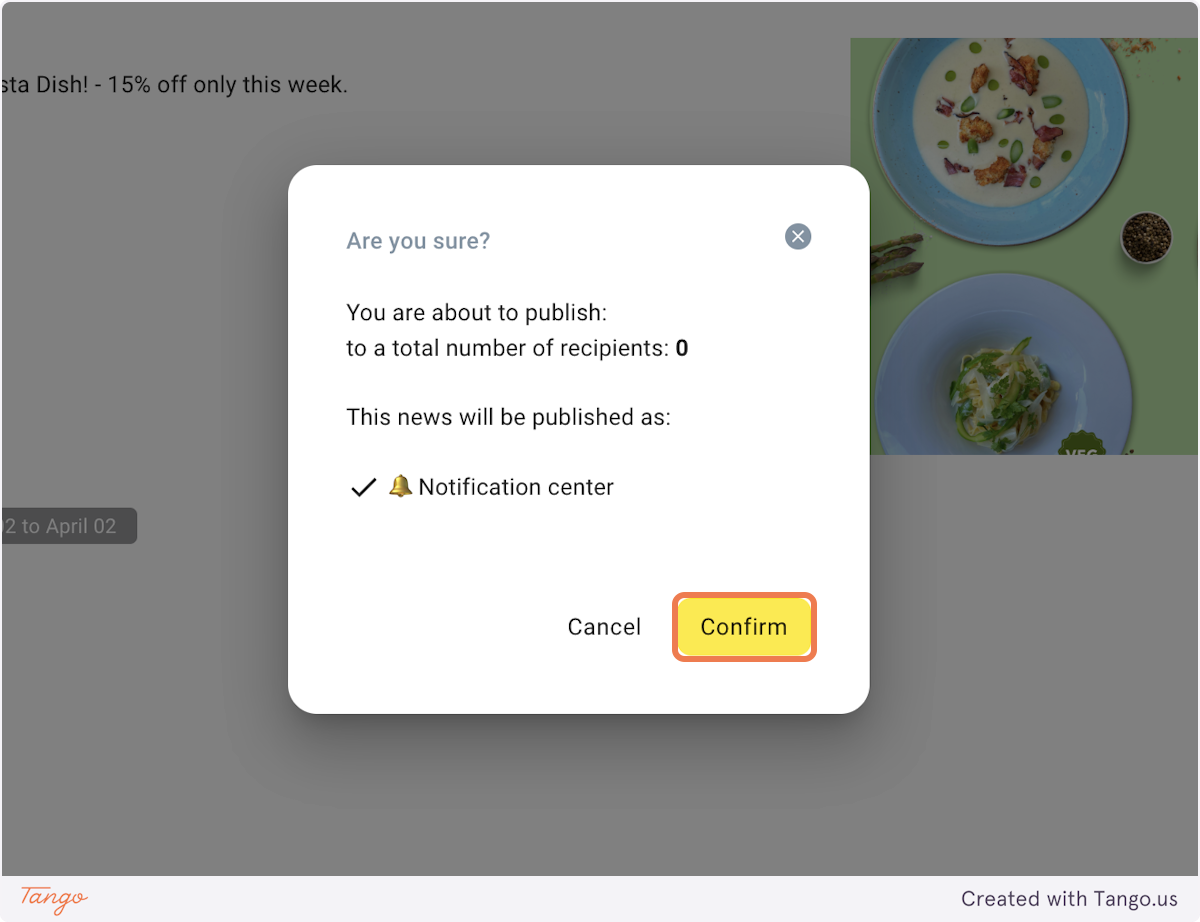
19. Confirm the publishing
Updated 3 days ago